Menu


It?s hard to get pumped up to this song if you can?t even get the first sentence going. Nothing?s more disappointing than looking forward to a great ride then finding out that your battery is dead.
But don?t beat yourself up over it, this happens to every motorcycle owner at one point or another. Maybe you had to store your bike during the winter and forgot to hook it up to a charger. Or maybe your battery was fine the day before but it seemingly died overnight.
Whatever the reason, read on to learn how to charge a motorcycle battery so you can get back to ?lookin? for adventures and whatever comes your way.? Let?s get this show on the road.
This seems like an obvious question and might sound a bit condescending, but are you sure that the battery is dead? Sometimes we forget to follow our mental checklist when things go wrong. If you can?t start your bike, do some basic troubleshooting first.
If after going through this list you?ve concluded that the battery is at fault, you can proceed to the next step.
Depending on the model of your bike, this step is either simple or a big pain in the neck. We advise that you consult your manual if you have it.
But if you don?t have a manual handy, the general rule is to disconnect the negative cable first and then the positive cable. After that, you can take the battery out of its frame. Doing it this way lessens the chance of completing the circuit which can start a fire if you?re not careful.
You might ask, why bother? Can?t you just charge the battery without taking it off the bike?
Yes, you can but we recommend against it for safety reasons. If the battery is still attached to your bike while charging, any electrical malfunction will affect your bike as well.
Also, the battery contains sulfuric acid and charging produces a lot of heat. An overcharge can cause the case to melt, causing acid to spray everywhere, like a scene from the Alien movies.
If you think about the cost of replacing the battery versus the cost of replacing damaged parts then it?s better to err on the side of caution.
It?s important to get this right. Pairing a charger with the wrong type of battery is very dangerous.
That being said, there are four common types.
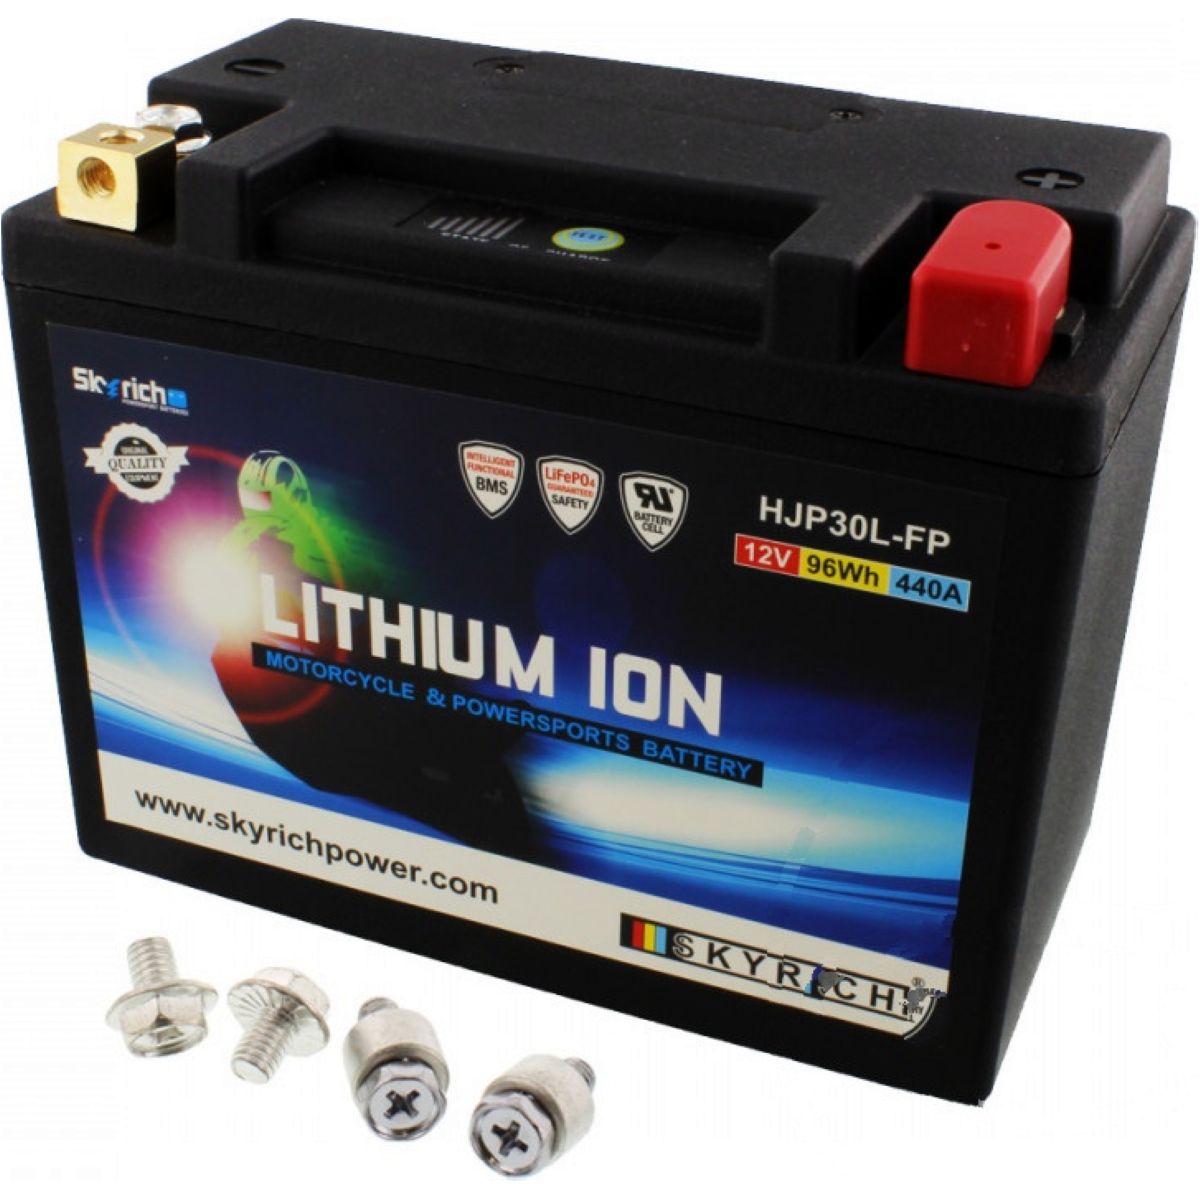
Lithium-based batteries will require special chargers depending on the manufacturer. The other battery types can be charged with conventional chargers.
Based on the type of battery you have, choose the appropriate?battery charger. For non-lithium based batteries, you can use either a trickle, float, or smart charger type.
The trickle charger is also called the fully-manual charger. It converts AC to DC to pump it into your battery. It will continue to do so until you turn the charger off. You have to monitor the charging process throughout or risk an overcharge.
Unlike a trickle charger, a float charger has automatic functionality. It can turn on or off depending on the level of battery charge. This is ideal if you need to store your battery for a long duration. It will continue to top-off the battery and prevent it from becoming fully-drained due to self-discharge.
A smart charger is the most convenient and generally the safest type. It has an awesome feature called the automatic desulfation mode. It can knock off the sulfur from the lead plates inside the battery. It can also vary the voltages and electrical pulses to minimize the normal damage to the battery during charging.
The chemical reactions inside a lithium battery are different from the lead variety. It requires a specific lithium charge algorithm which is why you?ll need a special charger recommended by the manufacturer.
You?re now ready to charge up your battery. But before starting, make sure you?re in a well-ventilated area. The charging process can release hydrogen gas which we all know is highly flammable.
Hook-up the charger to the battery terminals. Always double-check the attachment of the cables or you?ll end up with a fried battery.
You can now plug-in the charger but keep in mind the rule of one-tenth. You should never charge a battery at a rate of more than one-tenth its amp rating per hour. For example, if you have a 20-amp battery, you should charge at a rate not exceeding 2 amps per hour for 10 hours.
This is mostly applicable to a trickle type charger. If you?re using a float or smart type, you can just plug it and leave it then check after a few hours.
To perform a voltage test, you?ll need a multimeter or voltmeter. Once you?ve plugged the leads, check the reading. If it?s above 12.73, you?re good to go. If it?s between 12.06 to 12.73, keep charging.
But if it?s below 12.06, tough luck. The battery is likely toast.
That?s it, you?re done with the hard part. All that?s left to do is to reinstall the battery to the motorcycle.
This time, the order of attachment is positive cable first and then the negative cable. If you have your trusty manual, follow the instructions so you don?t mess anything up.
Don?t fret if you can?t start your baby due to a battery issue. Just follow these steps on how to charge a motorcycle battery and you?ll be back on your trusty horse in no time.
As fellow motorcycle enthusiasts, we want to offer you the best quality bike parts at an affordable price.
